This site has a great tutorial for using GhostScript to convert a PDF into PNGs suitable for using for OCR. They do a great job explaining the different flags for GhostScript and some tips for getting the best resolution for the PNGs. The one step they don’t show is how to get each page of a PDF into a separate PNG (so a 10 page PDF makes 10 PNGs).
Here’s how to do that:
In the output image name, add: %03d
This will insert an automatically incremented number padded with a padding of three digits. That means the first number will be 001, then 002, then 003, and so forth. This is really helpful in keeping the files in alphabetical and numerical order. Otherwise you’ll get a file ending in 11 coming before 2.
1. If I have a scanned copy of files in PDF form I run the above GhostScript command. This results in a folder of PNG images.
2. I run a new watermark/OCR tool on the folder of images. It is a Ruby script which utilizes ImageMagick for creating a watermark and Tesseract for running OCR on the images. You can find this program here:
This creates a folder called ‘output’ with a PDF of all the images (kind of redundant when starting with a PDF, but now the pages have the watermark on them), and two sub-folders, one with the OCR files, and one with the watermarked copies.
3. Now I can get rid of the PNGs that were created with the GhostScript command.
Now that I have each page OCRed, I can do searches on these files, where otherwise I had to read through the entire PDF page by page. For example, today I’m looking through a 40+ page PDF transcript of a survivor interview to find the parts where she talks about her experiences at the Porta Westfalica camp. While I’ll read through each page, to get a sense of where I should be looking I can now do a search on the OCRed pages to find out where the term ‘Porta’ is found.
Now I know that at least on pages 47 and 48 is where I’ll find some description of her time in Porta Westfalica.
The problem is that there were nearly 300 files to copy, and so I left the laptop to do the copy. In the meantime, it went to sleep, stopping the copy. Scp is not smart enough to just copy the files that didn’t get copied, but will copy all nearly 300 files again.
There is a program that has this intelligence, though… rsync !
The –inconv option allows Mac and Linux to speak the same UTF-8 language.
Special thanks to Janak Singh for the rsync option and detailed information on the issue.
Update: December 9, 2014.
There were some issues with the umlauts on the Linux server, and with the names of the files as I put them into Omeka, so I decided to do away with the special characters altogether. But how to change all of the file names? Easy, use the rename command.
On the Linux server it was easy as:
rename ü ue *.png
on the Mac I needed to install the rename command with homebrew first:
brew install rename
The syntax is a little bit different on the Mac:
rename -s ü ue *.png
You can also do a dry run to make sure it the command doesn’t do something you don’t like.
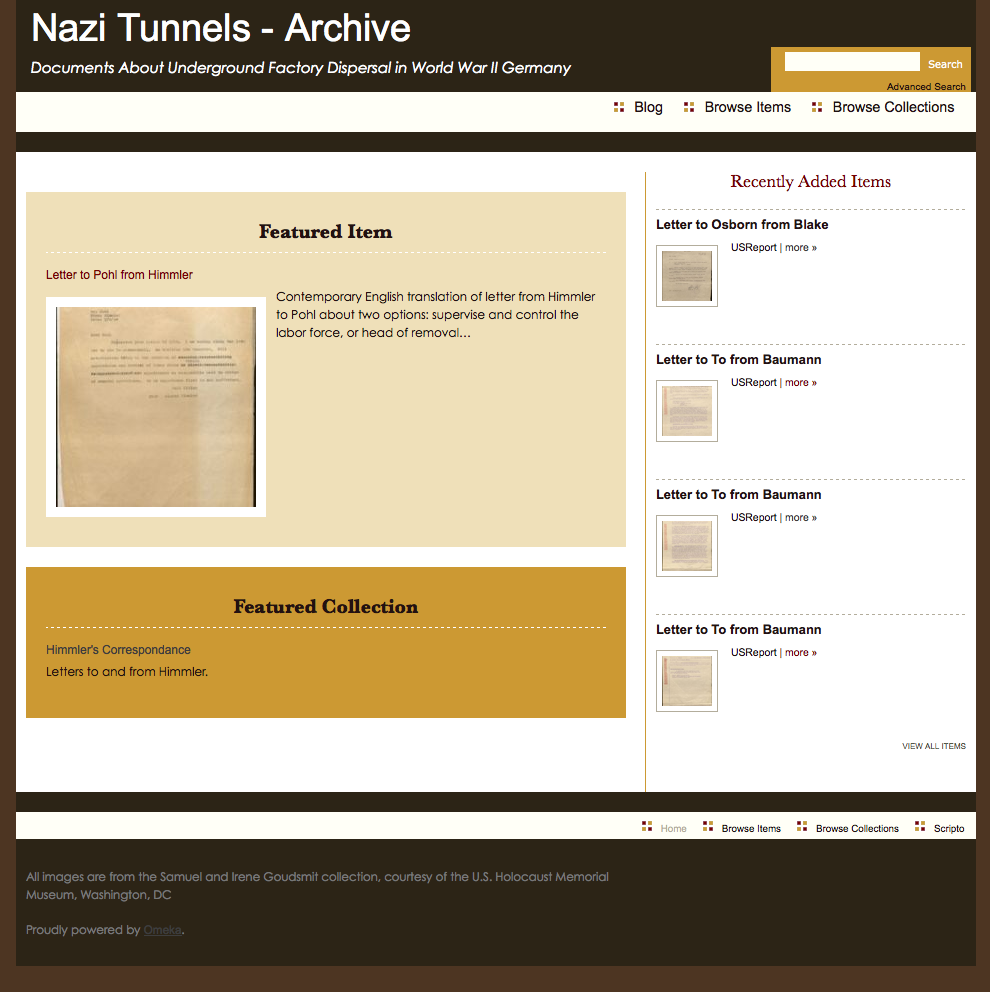
Part of my dissertation methodology is to try to use collaboration to provide an increase in usable sources. To accomplish this, I have set up the Omeka archive with the wonderful Scripto tool. This tool marries an Omeka install with a MediaWiki install to provide a nice way to be able to view images in the archive in order to transcribe and translate them. This post shows the process for transcribing a document/image.
First, go to the archive page: http://nazitunnels.org/archive/
First, go to the archive home page: http://nazitunnels.org/archive/
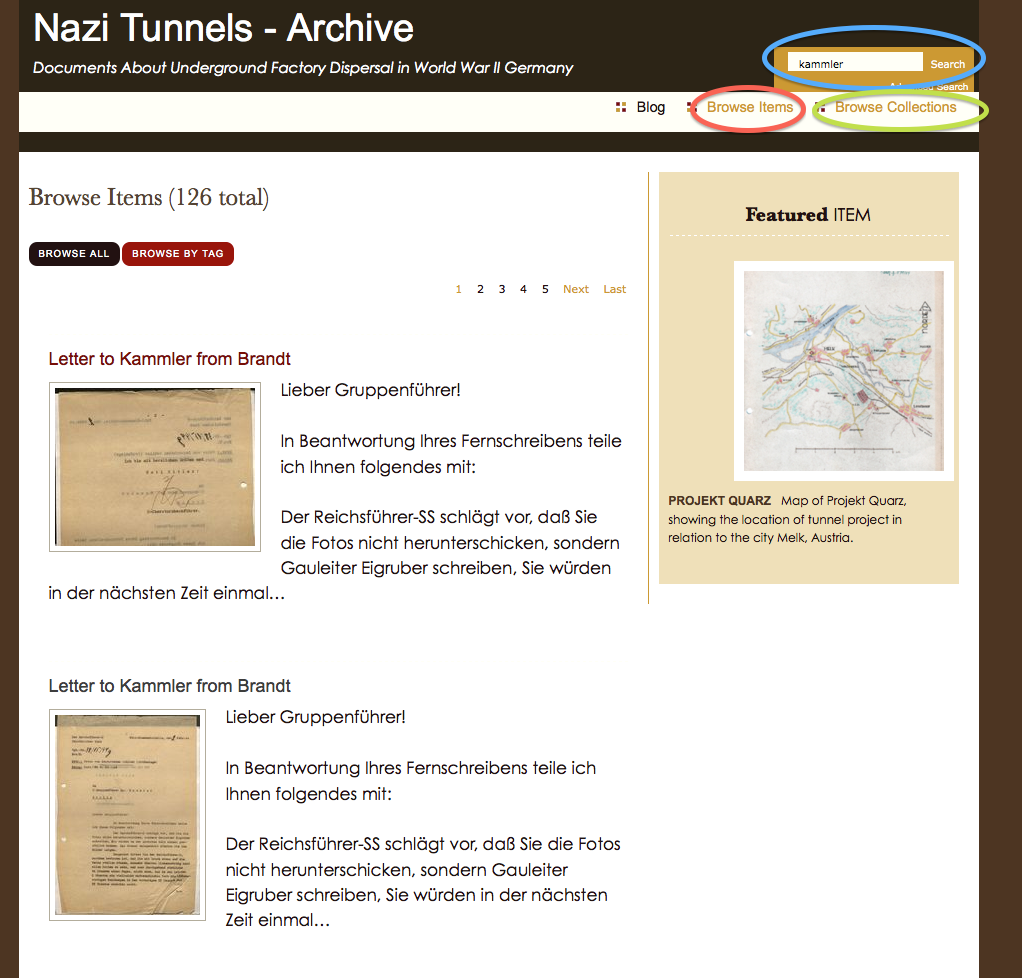
Next, you’ll want to search for a particular file, or browse by item or collection. The search function is a bit limited at the time. It only searches for text in the titles, tags, and existing descriptions. It doesn’t search for already transcribed text.
Search for an item, or browse by item or category.
Once you find an item to transcribe, click on the image or title to go to that item’s page. On that page, near the bottom, you will see a link to transcribe the item. Go ahead and click on that.
Click the link to transcribe.
Now you are on the transcription page. Next you will need to log in. (If you would like to help transcribe and/or translate, send me an email, or comment on this post, and I can set you up with an account. And thank you in advance!)
Log in.
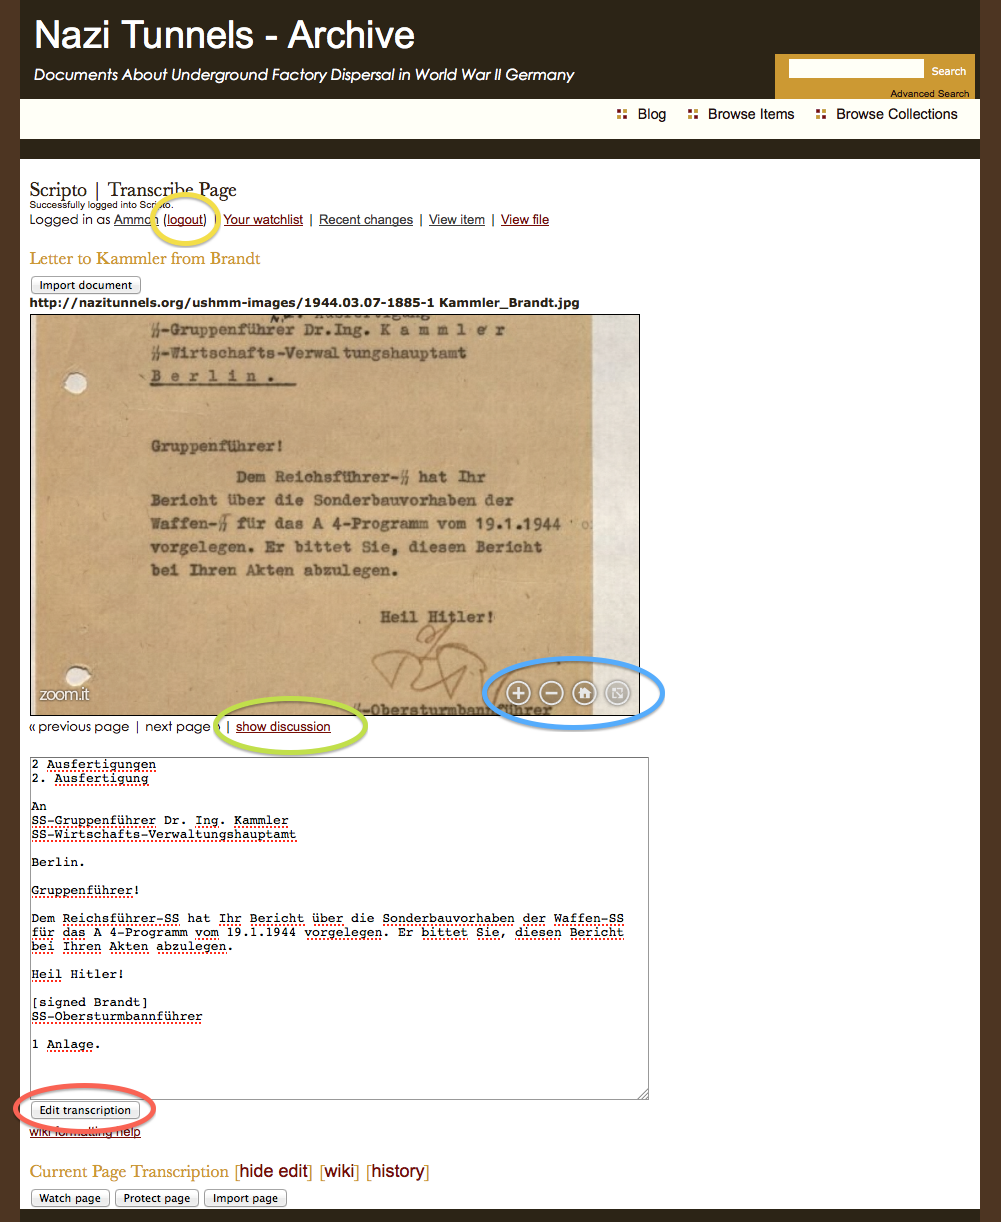
Once logged in, the page will be a little bit different.
Find the ‘edit’ link to start transcribing the image.
Notice the tools available for the image. (Move the mouse cursor over the image if you do not see them at first.)
Blue: You can zoom in and move the image around to get a better view of the text.
Red: Enter the transcribed text in the box. When done, click the ‘Edit transcription’ button.
Green: Only transcribed text should go in the transcription box, use the discussion page to enter comments about the item and ask questions.
Yellow: When you are done transcribing, and have clicked the ‘Edit transcription’ button, you can log out.
Transcription Tools
There is more to transcribing that just typing out what you see. Sometimes it is hard to even know what you are looking at. Here are some guidelines and policies for transcribing the documents here.
Policy (taken from the US National Archives and Records Administration website)
NaziTunnels.org reserve the right to remove content or comments that contain abusive, vulgar, offensive, threatening or harassing language; personal attacks of any kind; or offensive terms that target specific individuals or groups.
NaziTunnels.org will remove content or comments that are clearly off-topic, that promote services or products, or that promote or oppose any political party, person campaigning for elected office, or any ballot proposition.
The content of all transcriptions and comments are visible to the public, thus submissions should not contain anything you do not wish to broadcast to the general public.
If you provide personally identifiable information such as social security numbers, addresses, and telephone numbers in the comments, it will be removed by the moderator. However, if a document itself contains archival or historical personally identifiable information, please transcribe it.
NaziTunnels.org do not discriminate against any views, but reserves the right not to post content or comments that do not adhere to these standards.
By contributing to the NaziTunnels.org you accept that other users may edit, alter, or remove your contribution.
By transcribing or translating a document, you agree that you will not assert or retain any intellectual property rights, including copyright in the translation or transcription.
If you think any of the information in the NaziTunnels.org Archive is subject to a valid copyright claim, please contact me using the Q & A page.
When transcribing records, you should make a good faith effort to accurately represent the information contained in the record. If a document or record is not legible in some parts, please indicate with “[illegible].” Please consult the Transcription Tips at NARA for more information.
Below is a handy list of links to help with transcribing German handwriting and transcribing in general
Part of my dissertation is to create an online archive of the documents I find. Thanks to the Hist 698 Digital History Techne class I had with Fred Gibbs this semester, the technical work of this part of the dissertation is now done. I used Omeka with the Scripto plugin (which is really a bridge to a MediaWiki installation) for the archive, and an Exhibit from MIT’s Simile project for a quick and dirty display of data and a map plotting the location of several of the tunnel locations.
Also part of the course, is to give a brief presentation about the final project, which is taken from this post.
Goals
I had two goals for this course.
Create an quick and easy way to display the location and information about some of the tunnel sites using a selection of documents.
Create an online archive that would allow myself and others to transcribe and translate the documents.
Part 1
I was to use the Exhibit tool to complete the first goal. Set up was a bit more difficult than planned. I had an Exhibit working for a different project, and was finally able to massage the data into a copy of that code, and integrate it into the website using a WordPress Template.
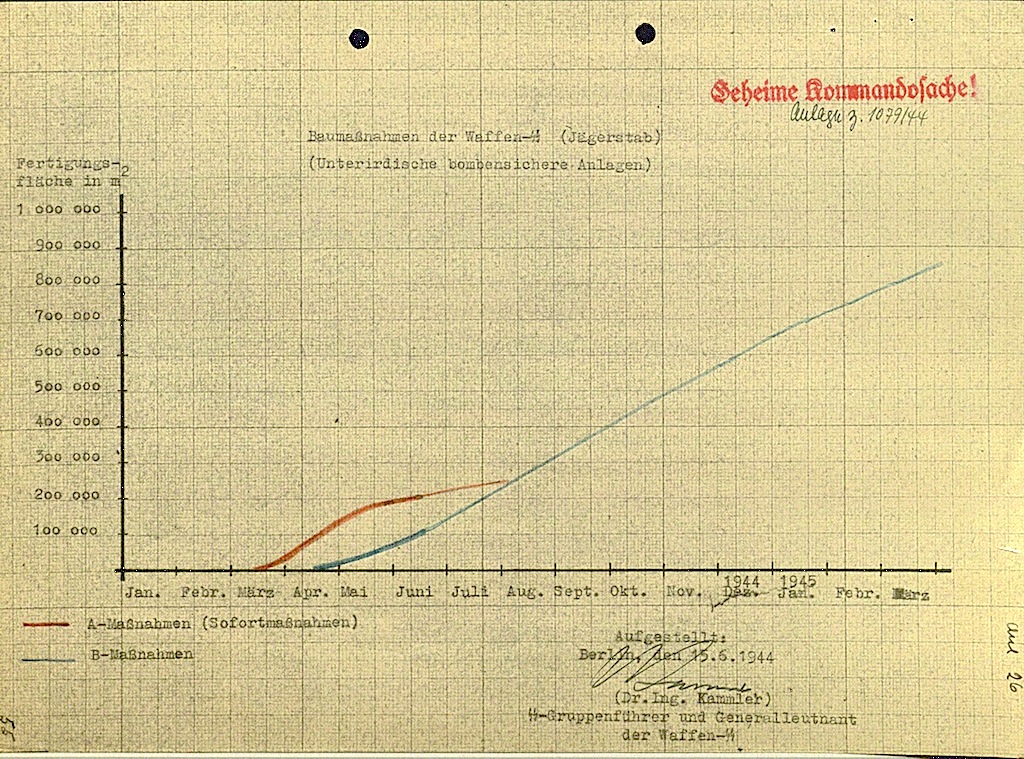
Map showing the location of tunnel projects in the A and B groups.
This allowed me to display the data in three different views. First is the map, as seen above. I was able to show the tunnels in the two different groups identified in the documents. The A projects were existing tunnels, caves, or mines that were to be retrofitted and improved before factories could be moved in. B projects were to be completely new underground spaces.
The Exhibit also has a table view, showing all of the items with select information for easy comparison, or information retrieval at a glance. For each view, the right hand side provides options for filtering the data. Exhibit uses JavaScript, so with of the data is already present in the page, filters and changes are applied instantly without any page reloads and slow data retrieval from the server.
A third view shows all of the items separately, with all of the available data.
Ideally, this information would be stored in a Google Spreadsheet to make updating and adding a cinch, but I was not able to get that working, so the data is in a JSON file instead. It would also have been neat to pull the information from the archive. Perhaps that can be built later.
Part 2
I also set up an Omeka install to host the images I had previously digitized from the United States Holocaust Memorial Museum. I not only want an archive, but also a way to have others transcribe and translate the documents, so I installed the Scripto plugin which is dependent on a MediaWiki install as well.
The ability to transcribe and translate is also an integral part of my dissertation. I want to argue, and show that historical work can not and should not be done alone. One way to do this is to get help from the undergraduates in the German Language program here at George Mason University. The German Language director at GMU is all on board to have some of her upper level students take on translation as part of their course work. This not only helps me, but helps them learn German by looking at interesting historical documents (and hopefully get them interested in history), but also helps future researches to be able to search and find documents easier.
Transcribing and translating made possible by Scripto and MediaWiki.
Historical Questions
This was the hardest part of the course. I’m really good at creating digital stuff because that is what I do all day. But I’m a little rusty on the historical interpretation and asking questions. What also makes this hard is not knowing completely what data I have yet.
Part of the problem with coming up with good, probing questions, is that I haven’t had a lot of time to look at the documents to see what is there. Also, there is not much written on this topic, so I’m kind of figuring out the story as I go. It’s a lot easier to read secondary works and ask new questions, or ask old questions in different ways. But there are no questions yet, except what happened.
The bigger questions, in light of this course, should be about how does this technology that we learned help understand the history, or help generate new questions. Will displaying the data in different ways help me make connections and inspire ideas that I would not otherwise have made or thought? Do the digital tools allow me to process more data than I could do non-digitally?
Another stumbling block (or is it a building block, it’s all about perspective, right), comes from my recent trip to Germany for research. While there I met with Dr. Ulrich Herbert at the University of Freiburg. He’s somewhat of a scholar in the area of slave labor, and has kept up to date on the writings regarding the underground dispersal projects. His wise suggestion for my dissertation was to focus on a single tunnel site, rather than trying to write about the organization responsible for all of the dispersal projects. Such an undertaking would take a life time, he said. So now I need to focus on just one tunnel, rather than all of them. Fortunately, Dr. Herbert put me in contact with the Director of the Mittelbau-Dora Concentration Camp Memorial, Dr. Jens-Christian Wagner. With his help, I may be able to find a specific tunnel to focus on, and make my trip in July 2013 that much more profitable.
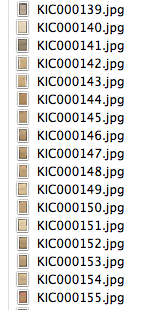
I have a lot of images from the United States Holocaust Memorial Museum already. It’s about time I start looking through them to see what information I can get. The first issue I ran into, besides the shear number of them, is how to tell which images to look at first. Chronologically would be the best, but how to tell which document image is chrnologically first when they all have a generic file name. When I took the images at USHMM, they were automatically names liked so:
KIC000294.jgp
KIC000295.jpg
KIC000296.jpg
KIC000297.jpg
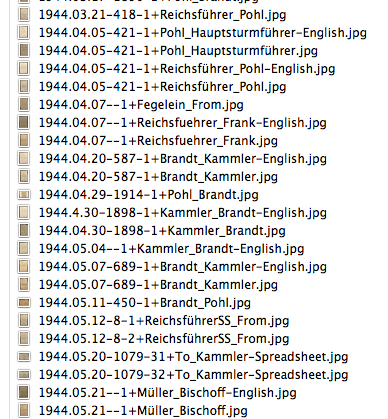
Not very descriptive, to say the least. I needed a way to see which documents came first in the time line of events, so I started thinking up a format for naming the images that would automatically sort the images, but also provide needed information. Since most of the files are images of correspondence between individuals, I decided to have the “To” and “From” be part of the file name. The date is also and obvious inclusion for the file name. Starting with the year, then month, then day makes it easy to sort the images chronologically. But what about documents written on the same day, and documents with mutiple pages? There’s a way to incorporate that too. So here is the naming scheme that I settled on for these document images.
Year.Month.Day-DocumentNumber-PageNumber+To_From-Description

Year  = The last two digits of the year
Month = The two digit month
Day   = The two digit day

Document Number = Each Nazi document seems to have a number, seemingly assigned when written/typed

Page Number  = The page number, if only one page, use 1.

To   = To whom the document is written. If not known, use 'To'.
From = Who wrote the document. If not known, use 'From'

Description = English (for English translation), Spreadsheet, Chart, Graph, etc
This allows me to see briefly what kind of document the file contains at a glance.
That's much better. I can tell which file I need at a glance
Thinking Ahead (programatically)
In an effort to show my skills as a digital historian… Ah, shucks, I’m not kidding anyone there. If you notice the naming format, you’ll see some odd use of word separators, or the fact that I use word separators at all instead of just spaces. That’s my programming mind coming to the fore there. I work with servers, all of them use Linux. Linux is OK with spaces in file names, but life is sooooooo much easier when there are none. So, here I’m thinking ahead to what I’m going to do with these images. Their new names are not just pretty to look at, but they will help me later on when I want to manipulate large numbers of them. With certain word separators in the name, it will be relatively easy to write a script that will search through all of the files and be able to parse out the dates, names, document numbers, page numbers, and descriptions. This info can be put into a CSV file for easy editing and adding information in a SpreadSheet program, which can then later be uploaded to Omeka. So just by taking care to name the files correctly will save me a lot of time later down the road.
A graph showing the total area of two underground projects, A and B. They were looking to have 8x as much tunnel space by 1945 as they had in June, 1944 when the document was made.